Table of Content
Place on your benchtop with the sticky side facing up and press your paper plate evenly onto the sticky side of the contact. Turn the paper 90 degrees and fold the other edges along the drawn lines. Tuck the cut pieces up and overlap the triangle shapes to cover.
Art programs like Photoshop and GIMP are great ways to create designs. Create a design by pressing the flowers, leaves etc. onto the sticky surface. Think of these blossoming sun catchers as a deconstructed bouquet. What a fun, budget and eco-friendly way to personalize a gift.
Setting up the factory- registrations & licensing needed
The best paints for plates are ones that you need to bake in the oven. Some are marked as multi-surface while others are just for ceramics. Make sure they're not toxic before you buy them.
Finish shaping the plate by adding a rim or ribbing. Use your fingers or a sponge to gently press into the edge on the inside of the plate while the wheel is spinning. Gently lift your fingers and press down on the lip to pull it into the shape you want. Constantly add water with the sponge as the clay dries out. You want it to be very wet on the outside while you're throwing. When you're done wedging, shape it into a rough ball by batting at the edges with your hands.
Couching the Paper
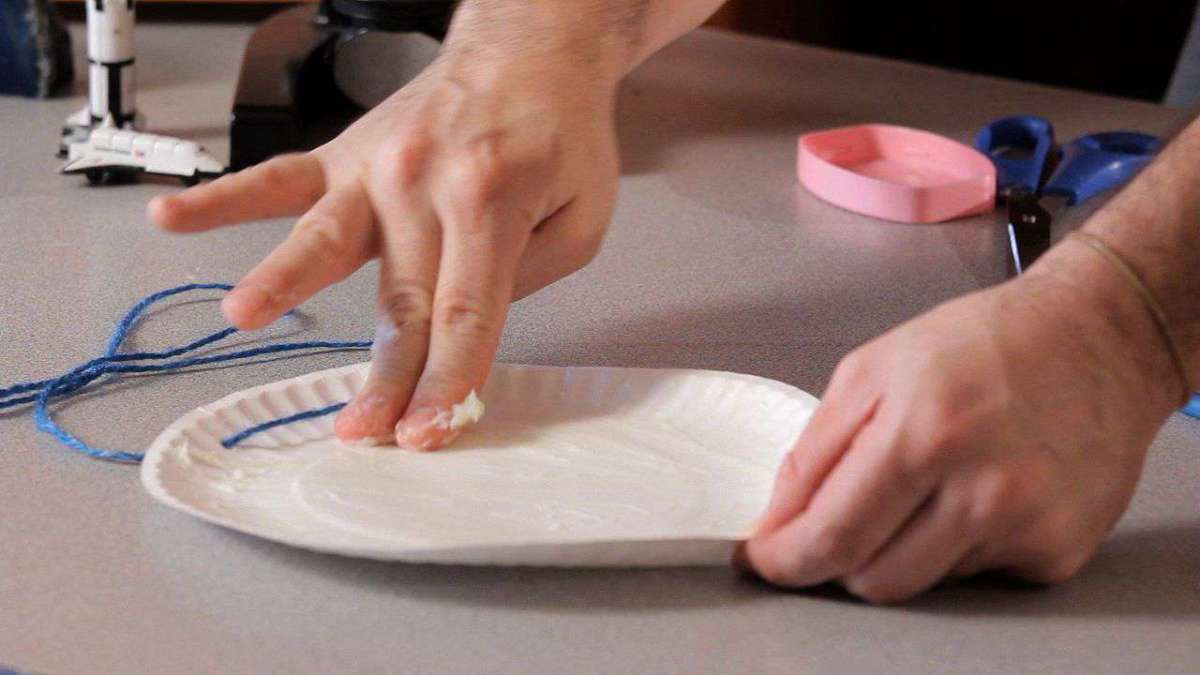
Take a colorful length of yarn or thread and begin to loop-stitch around the edge of the plate. It is helpful to smudge some glue on the leading tip of the yarn. When the tip dries, it is stiff and is easier to thread through the holes.
Blend your soaked paper scraps in batches if you soaked them in multiple pitchers or bowls. This way, the blender won’t be too full and can blend each batch evenly. Cup of white vinegar to the pulp mixture to “bleach” the paper scraps. If all your paper doesn’t fit into one pitcher or bowl, no worries!
Paper Plate Machine
Best suited for – This type of machine is good for those who are new to this business, low investment, and a small market network. So, you must know every aspect of this report or consult a professional who can guide you in preparing a project report for your business. Next is coating material, some paper materials are single sided PE coated and some others are double-sided.

Shape the edge of the plate with your fingers. Start by pressing your right thumbnail into the clay at the base of the disk on the outside. Push in about 0.5 inches (1.3 cm) or so as you spin the wheel, which will push up the edge of the plate and create a space underneath.
You need to check which one is applicable to you. Also, make sure you have obtained all the necessary documents and permission to set up your business in that area. It is important that you check all the necessary amenities such as water connection, proper electrical wiring, and transportation facility are available in the desired location.

Change the hue of your paper with food coloring for an artistic flair. Put 5 to 6 drops of food coloring into 1 blender's worth of slurry. After you add the food coloring, stir the slurry with a spoon until the color is evenly distributed. If you'd like to make 2 different colors of paper, add drops of different colors to separate batches of slurry.
The pulp is taken in its solution form and extruded, or filtered, and then blown through pipes with powerful bursts of air that inject it into special molds. These molds are shaped in large sheets that have paper-plate shapes already imprinted on them. The pulp is pressed and dried in these shapes. The paper can be dyed in different colors and stamped with varying designs.
You no longer have to draw a complicated image by hand. If you would like to decorate a plate you can still eat off of, start with a clear plate. You can flip the plate over and draw your design on the back. Since the marker is on the outside, using the plate is still safe. For Christmas time, use a Christmas paper plate, with lots of red and green. STEP FOUR – Peel the backing paper from one contact circle.
Start along the edges and work towards the center. You can also use a ceramic paint pen to darken the outlines so they stand out more. Use a sharp pair of scissors to cut the design down to a more manageable size. If you are able to fit the design in place and tape it down, you likely will not have any problems working with it. If you plan on creating multiple decorations, you don’t need to make them on the same sheet of paper.
Things to consider before buying a paper plate making machine. A detailed explanation of the manufacturing location, land, or building must be included in your project report. Basically, you provide an overview of your company and details about yourself and any experiences in running such type of business in the past and its related documents.


No comments:
Post a Comment